



Changing clothes in a photo used to mean learning masks, layers, shadows, and several other things that made closing the laptop feel reasonable. Search results call the newer version “change clothes AI,” which is awkward wording for a genuinely handy idea. Now you can swap an outfit using two pictures and a much shorter attention span.
The easy part is generating an image. The useful part is getting an outfit swap that still looks like the same person in the same place. A clean result should preserve your face, body position, hair, and background while changing the clothing you actually asked to change.
That sounds obvious. It is also where weak inputs cause most of the strange results.
Choose the right kind of outfit change
There are two common ways to change an outfit. You can use a reference image of a real garment, or describe the new clothing in words. Use a reference when you care about a specific item. Use written instructions when you care more about the idea than the exact product.
If you found a green wrap dress online and want to see that dress on yourself, upload its image. If you simply want “a relaxed black suit with a fitted white tank,” a written edit may be enough. Asking a prompt to reproduce a very specific product from memory is how buttons wander off and necklines develop personal ambitions.
Start with a photo worth preserving
The source photo controls more than people expect. Pick one where your face is clear, your body is visible, and the clothing area is not blocked by crossed arms, a large bag, or furniture. A simple pose gives the new garment somewhere believable to go.
For a top or jacket, an upper-body photo works. For a dress, trousers, or a complete outfit, use a full-body image. Leave your shoes in frame if the outfit needs to work with them. The system should not have to guess whether the photo ends in loafers, boots, or one very surprised foot.
- Use even light and a reasonably sharp image.
- Keep your hands away from important seams when possible.
- Avoid hair covering most of the neckline.
- Choose a natural standing or seated pose.
- Do not start from a screenshot that has already been heavily compressed.
Use a garment image with enough information
A clean store photo is the easiest reference. The whole item should be visible, ideally from the front. If the garment is black, avoid a nearly black background. If it has a detailed print, use the highest-resolution product image available.
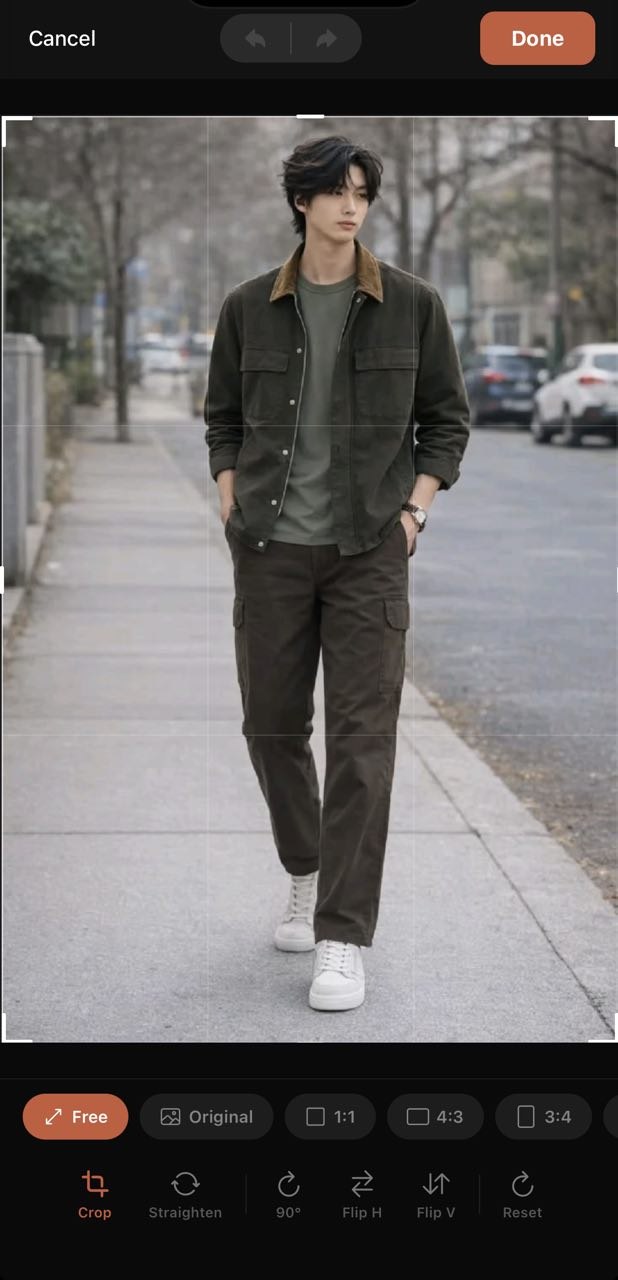
A screenshot can work well. Crop it to the garment before uploading. Remove the store header, chat bubble, price banner, color thumbnails, and the row of “you may also like” items. Those details are useful while shopping and useless when the job is understanding one piece of clothing.
Photos of clothing on a hanger or laid flat also work, although folds may hide construction. If the front and back differ, use the front view first. You can always make a second result for the back rather than asking one image to solve both sides.
Change one thing at a time
The most reliable edit is specific. Change the jacket. Replace the dress. Swap the top and keep the jeans. When you request a new outfit, new hairstyle, new room, different pose, and more dramatic lighting in one go, every preserved detail becomes negotiable.
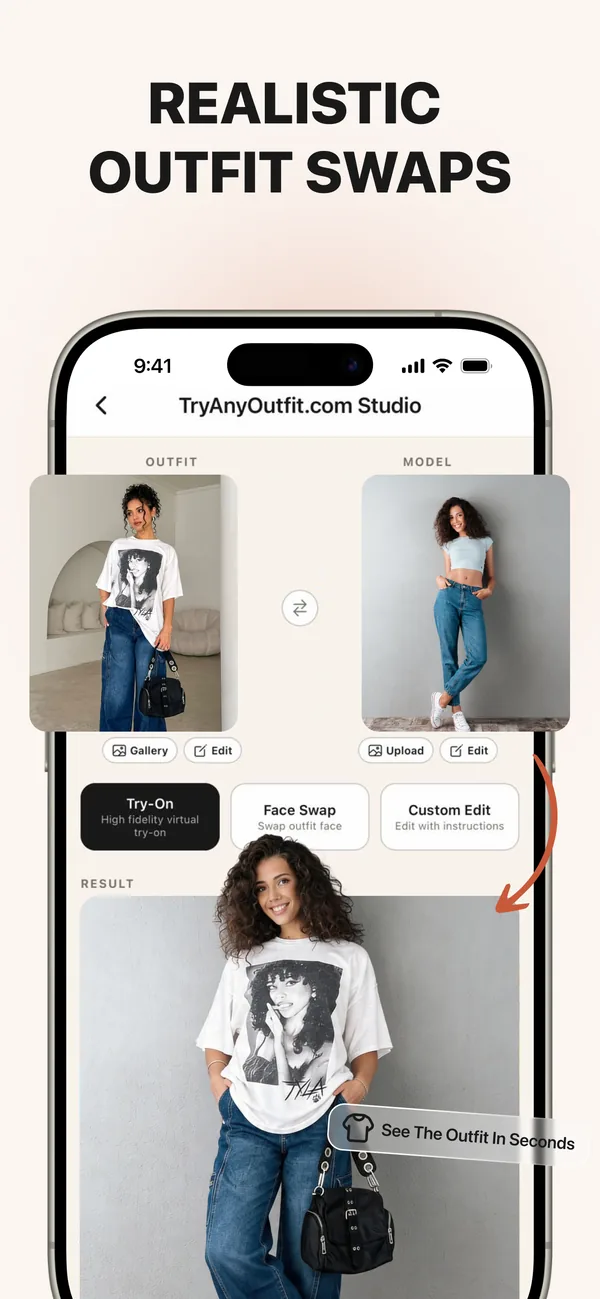
For a reference-based edit, let the garment image do most of the talking. Add one short instruction only when needed, such as “keep my face, hair, pose, jeans, shoes, and background unchanged.”
For a text-based edit, describe visible facts:
Replace the current top with a fitted burgundy square-neck top with long sleeves. Keep the person, face, hair, body position, jeans, lighting, and background unchanged.
That instruction is more useful than “make it chic.” Chic means twelve different things before lunch. Shape, color, neckline, sleeve, fabric, and styling are concrete.
How to fix the most common mistakes
The face changed
Regenerate from the original image, not from the edited result. Make the instruction narrower and explicitly preserve the face and hair. If the face is small or blurry in the source, choose a higher-resolution photo where your features are easier to retain.
The sleeves or hands look wrong
Hands crossing the torso make clothing edits harder because the system has to place fabric behind fingers and in front of the body at the same time. Try another source pose, or choose a sleeveless garment if the original hand position covers most of the sleeve.
The print disappeared
Use a larger, sharper garment image. Small checks, logos, lace, and repeated motifs need more visual information. If exact print placement matters, treat the output as a rough style preview rather than a product-accurate rendering.
The body shape changed
Ask for the clothing only and preserve the body position. A close-fitting original outfit also helps because it makes the visible outline clearer. Very oversized source layers can cause the edit to inherit volume that belongs to the old clothing.
The outfit looks pasted on
Check whether the lighting directions match. A bright product photo and a very dark room require more interpretation. Use a person photo with balanced light, then try a garment image with a similar front-facing view.
Reference image or written prompt?
Use a garment reference for shopping decisions, closet planning, and comparing real items. It gives you a visible source for the color, cut, and details. Use a written prompt for editorial ideas, costume concepts, color experiments, or outfits that do not exist yet.
You can combine the approaches carefully. Start with the garment reference, then make one custom edit such as changing the color or adjusting the sleeve length. Save the original result before experimenting. That gives you something to compare when version four somehow becomes a cape.
What to check before you keep the image
Zoom in. Look at the neckline, waist, wrists, hands, hem, and any place where the garment meets hair or another object. Check whether the background bent around the new clothing. Compare your face with the source. Make sure accessories you wanted to keep are still present.
If the picture is for outfit planning, judge the overall effect first. Do the color and silhouette work? If the picture is for posting, inspect the details more strictly. A tiny twisted seam may not matter when choosing between two shirts. It matters when the edited image is the finished product.
Use the result honestly
An outfit edit shows an idea. It does not prove that the garment fits, that the fabric behaves the same way, or that a store item will arrive looking identical. For shopping, pair the visual with measurements, reviews, materials, and return terms.
If you post an edited fashion image, avoid presenting it as documentary evidence of a product you never wore. The interesting part is often the experiment itself: “I tested three jacket colors before buying one” is more useful than pretending the third jacket was already in your hallway.
A simple workflow that stays under control
- Pick a sharp source photo with a clear view of the clothing area.
- Choose one garment reference or write one specific clothing instruction.
- Generate the first version and compare it with both inputs.
- Fix one problem at a time rather than rewriting the entire request.
- Save the believable version before trying creative variations.
That is the difference between a useful AI clothes change and an endless slot machine. Start specific, preserve what matters, and stop when the image answers the question you had.
You can try a clothing reference on your own photo, or read the virtual try-on guide first if your goal is shopping rather than photo editing.
What the current editor makes clear
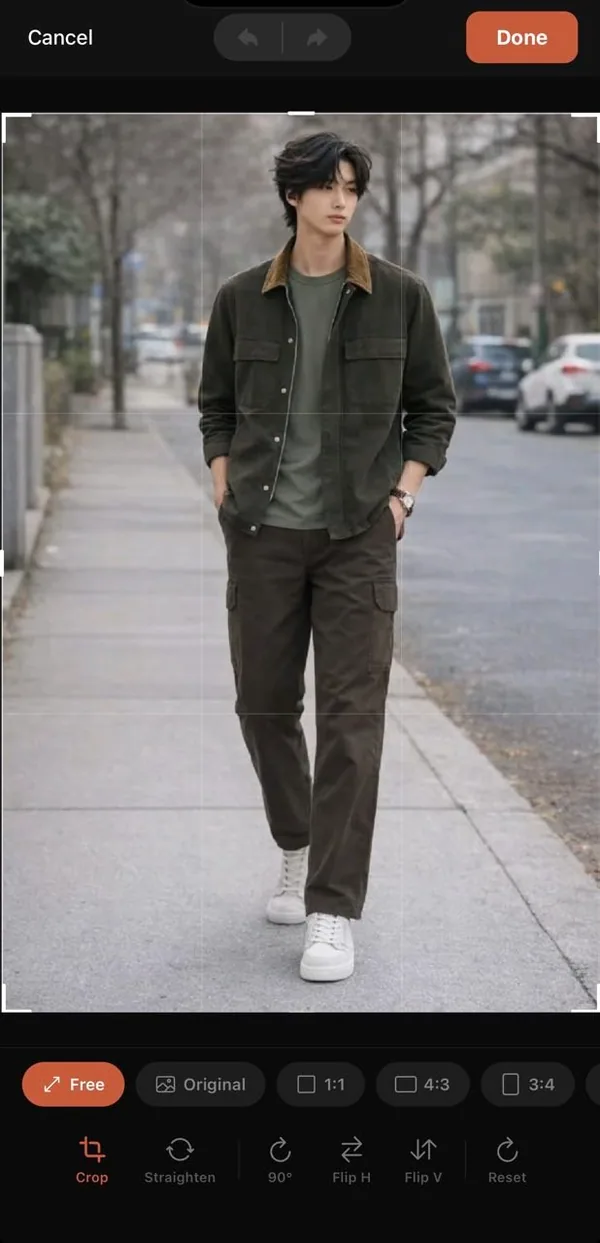
The current Custom Edit screen keeps the source image visible above the instruction field and result. That layout makes a narrow edit easier to evaluate because you can compare the person, pose, and background without relying on memory. It also supports the most reliable rule in this guide: ask for one visible change at a time.
For a product-specific preview rather than a written edit, use the step-by-step try-on workflow. For cleaner source images, use the photo troubleshooting guide.