


Two photos, one visual preview
AI bikini try-on. Get the photos right first.
A useful bikini preview starts with a clear photo of you and a clear image of the swimsuit. Follow the setup below, then review the generated details before using the result to shop. Generating an image in Studio uses paid credits.
Set up your virtual try-on
Add your photo and the swimwear you want to preview. Uploads are free. Generating images in Studio requires sign-in and paid credits.
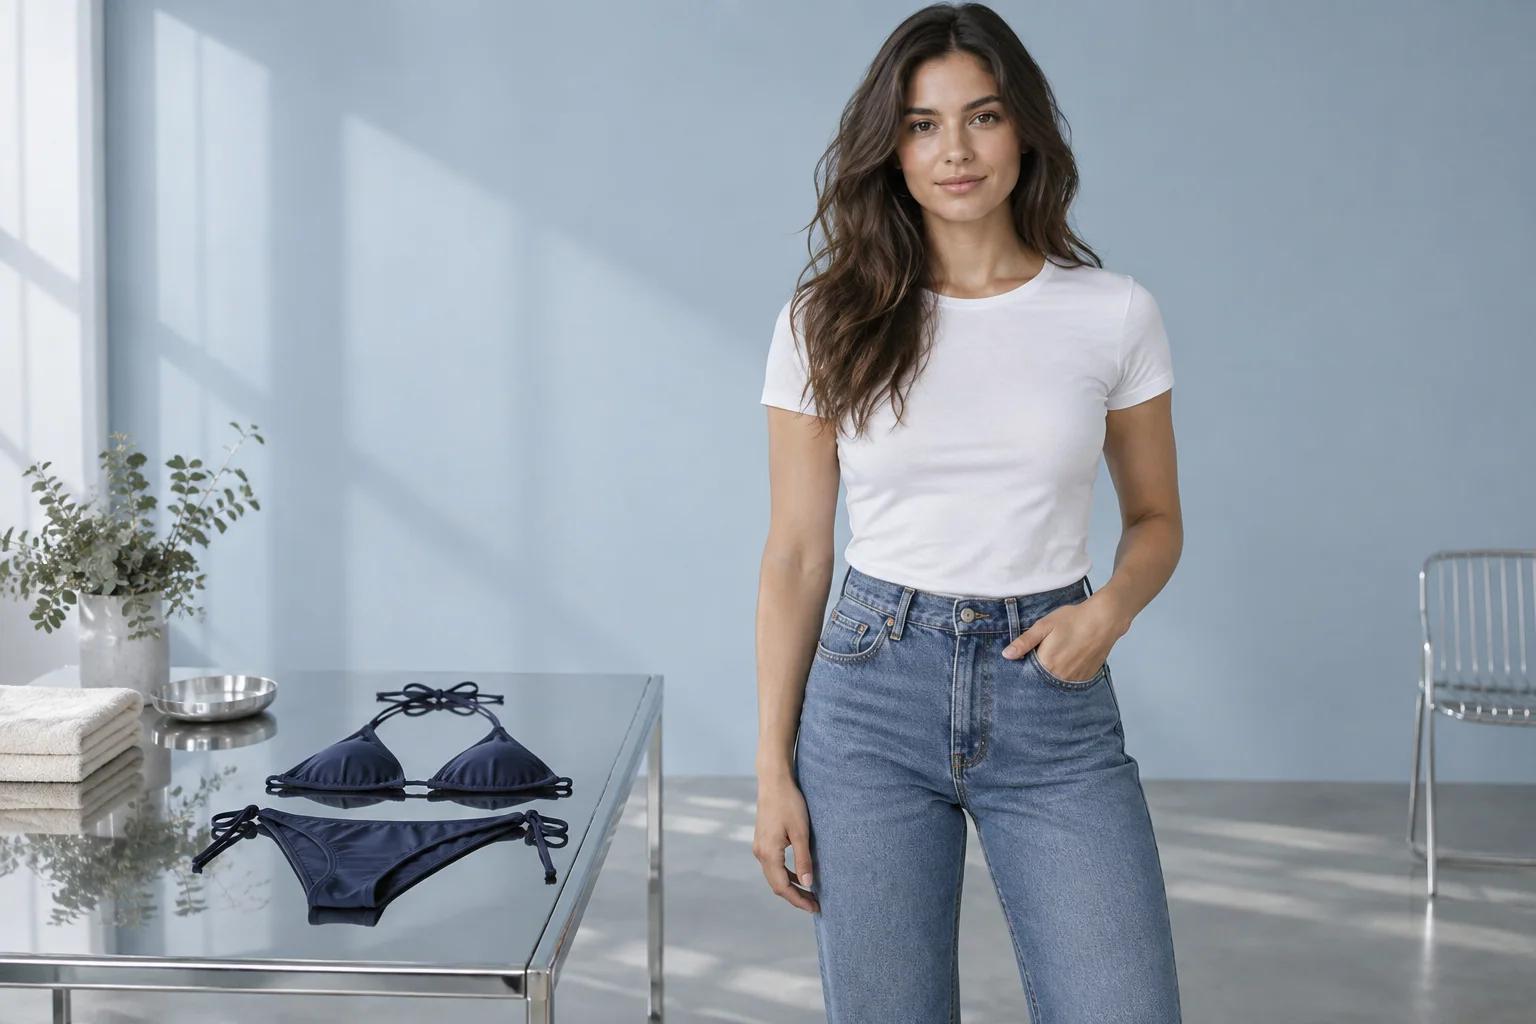
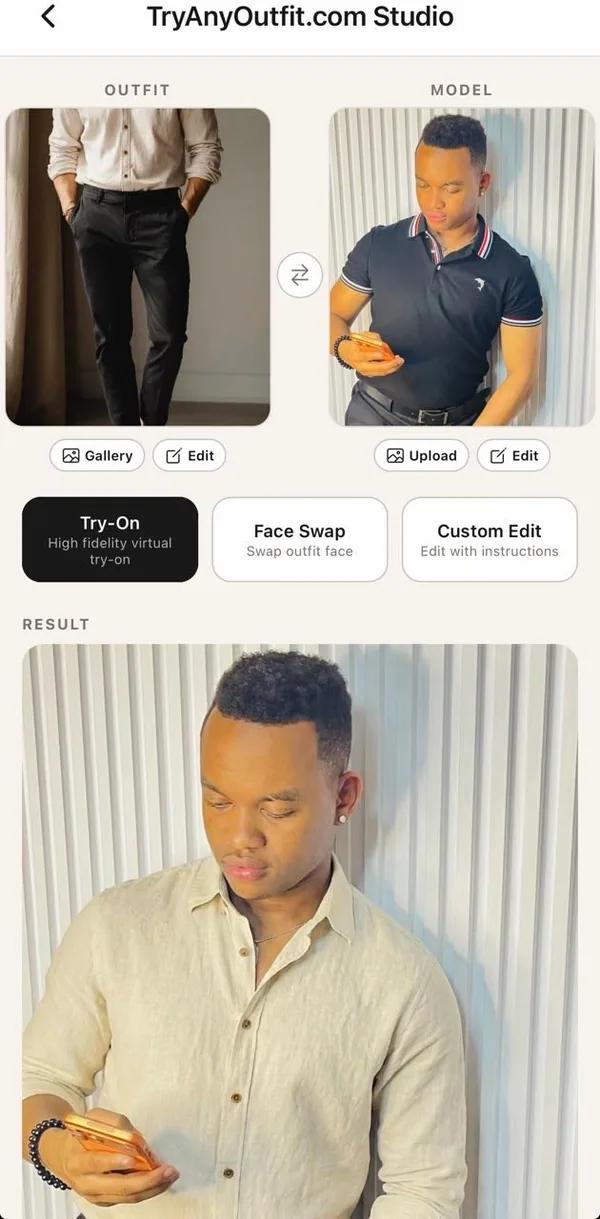
1. Choose a photo with a clear outline
Use a front-facing photo in even light with your torso and hips in the frame. Keep your arms slightly away from your body. A close face selfie does not show enough of the area you want to preview. You can start with a clothed photo; avoid bulky layers that hide your outline. Use your own photo or one you have permission to edit.
2. Prepare one bikini reference
Crop out price labels, shopping controls and unrelated products. Keep both pieces of the bikini in view, including the straps and waistband. If a product is shown from several angles, start with the front image rather than combining all angles in a collage. Save a separate back view for checking construction when shopping.
- Accepted files: JPG, PNG or WebP, up to 20 MB per photo.
- Avoid screenshots where the bikini is only a tiny part of the image.
- Use the same color and style as the item you intend to order.
3. Open your photos in Studio
Add the swimsuit to the bikini reference slot and your photo to the You slot. Check that they are in the right places, then choose Generate in Studio. This transfers the selected files through browser storage. Stay in the same browser and device while signing in. In Studio, review your choices and available credits before submitting the generation.
4. Inspect the result before comparing styles
Look closely at ties, edges, straps and where the two pieces meet the body. Check the print against the reference: a changed stripe or missing seam is an AI error, not information about the actual bikini. If the result is unclear, improve the source image before spending another credit. A brighter reference with less obstruction gives you a more specific input to work with.
When the preview looks wrong
If a strap disappears, check whether it was visible in the reference. If the pose changes, try a simpler front-facing source photo. If a hand or hair covers the garment, select a photo with that area unobstructed. Repeatedly generating from the same ambiguous image may repeat the problem. Even a convincing result cannot verify sizing, stretch, support or how wet fabric behaves.
Questions people ask first
Is bikini try-on AI a body measurement tool?
No. It generates a new image based on your inputs. It does not measure your body, calculate a clothing size or simulate physical support.
Why use a full-body photo instead of a selfie?
A face-only selfie omits the torso and hips needed for a bikini preview. A clear full-body photo, or a crop that includes the whole swimwear area, gives the tool more relevant information.
Are my photos uploaded when I select them here?
This page keeps selections in your browser for the transfer to Studio. Upload and generation happen in Studio. See the privacy policy for how uploaded photos are processed and stored.
Will the AI preserve every detail?
No. Prints, seams, straps and proportions can change. Treat the result as an illustration and compare it with the retailer's original photos.
Prefer it on your phone?
The app shares the same account, credits and looks.