



A virtual clothes try-on result is only as clear as the clues you give it. People also type “virtual clothes try on” when they want the same thing: a cleaner preview with fewer strange hands, hems, or proportions. If your photo is dark, cropped at the ankles, and partially hidden behind a chair, the system has to invent more of the answer. Sometimes it invents confidently.
You do not need professional equipment. You need a photo that shows your body position, a garment image that shows the clothing, and enough light for both to be readable. This guide is the practical setup.
The best camera position
Place the camera around chest or waist height and keep it level. A camera held high can enlarge the upper body and shorten the legs. A phone near the floor does the opposite. Those angles may be fun for a specific photo, but they make outfit proportion harder to judge.
Stand far enough away to include the part of the body the garment covers. For a top, show at least your head to hips. For a dress, trousers, or full outfit, include your entire body and leave some space around it.
Use the rear camera with a timer when convenient. It often produces a sharper image than the selfie camera. A tripod is nice, but a shelf, windowsill, or stack of books can perform the same job without becoming a new hobby.
Light your face and clothing area evenly
Face a window or stand in open shade outdoors. Even light makes body edges, hair, and fabric easier to understand. Strong light from behind can turn the front of your body into a dark shape. Direct overhead light can create heavy shadows under the chin and across the clothing.
If you are indoors at night, use two lights from the front or one broad light near the camera. Avoid mixing a blue window with an orange lamp when possible. The system may handle it, but your color comparison becomes less reliable.
Check the image before leaving the setup. Zoom in on your face and the outline of your arms. If both are sharp, you are ready.
Use a simple background with contrast
A plain wall is easy, but not required. A tidy room, hallway, or outdoor wall works when your body stands out from it. Avoid a background that matches your clothing exactly or has objects crossing your outline.
Move away from the wall by a few feet. This reduces hard shadows and separates you from the background. Remove the chair back, plant, floor lamp, or hanging coat that appears to grow directly from your shoulder. The goal is not an empty life. It is a readable silhouette.
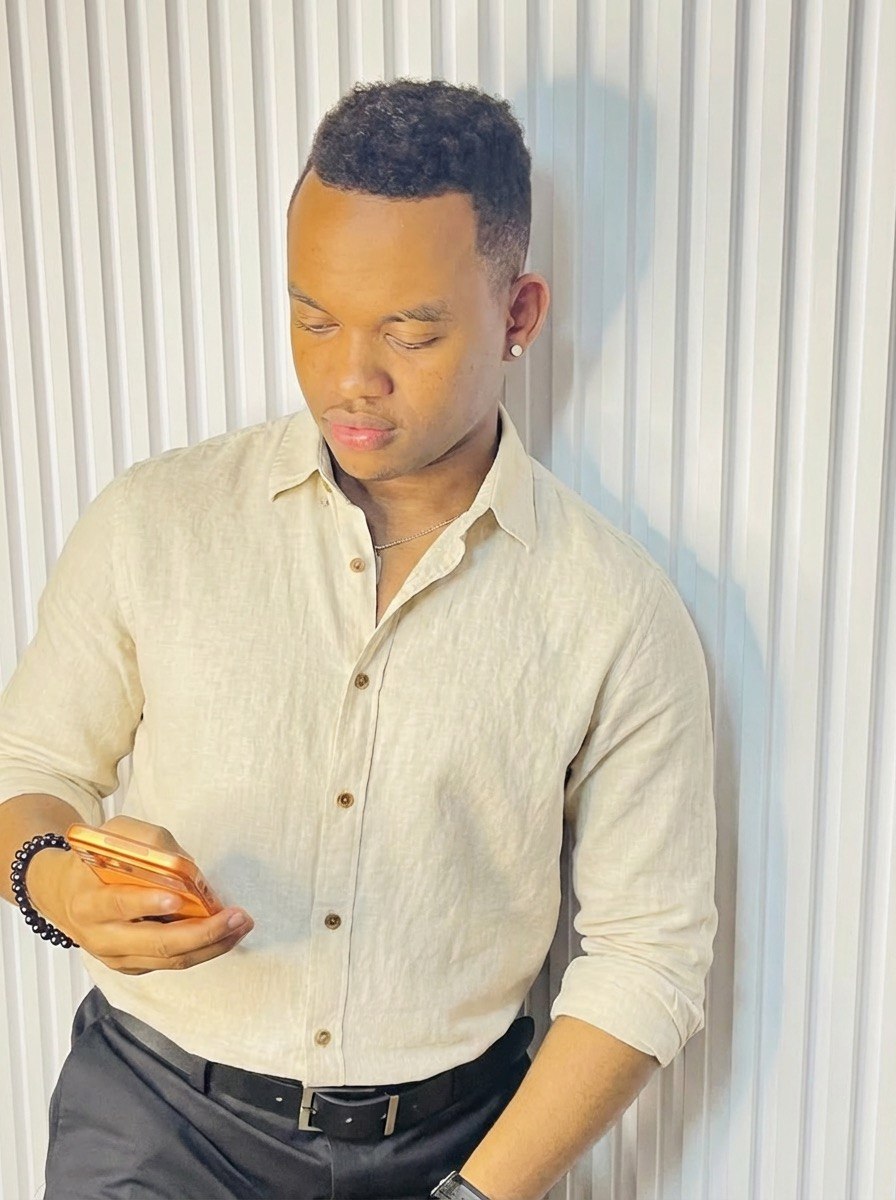
Choose a pose that leaves room for the garment
Stand with your weight balanced or shifted slightly to one leg. Keep your torso facing mostly forward. Let your arms hang naturally with a little space between the elbows and waist.
Hands cause trouble when they cover buttons, waistbands, jacket openings, or pockets. Crossed arms hide the torso. Hands on hips create narrow gaps the new fabric must pass behind. These poses are not forbidden, but a relaxed stance is more dependable for the first result.
For a seated preview, sit upright with your hands resting away from the garment area. Keep both shoulders visible. Use a chair without a high back that covers most of your torso.
Wear a clean base outfit
A relatively fitted base layer gives the try-on a clear starting shape. A plain T-shirt and jeans, tank and leggings, or simple dress works. Pick a color that contrasts with the background.
Bulky coats, wide scarves, dramatic sleeves, and large handbags make the original outline harder to separate from the body. If you want to keep an item, such as your jeans or shoes, make sure it is fully visible.
You never need to photograph yourself in underwear. The point is clarity, not exposure. Choose clothing you feel comfortable saving and uploading.
Move hair and accessories away from key details
If you are testing necklines, collars, or straps, move long hair behind your shoulders for the source photo. If you are testing earrings or a hat, keep them. Remove accessories that cover the exact part of the outfit you want to see.
A crossbody bag can split a top or dress diagonally. A wide belt can confuse a new waistline. A scarf can erase the neckline. Take one neutral source photo without them, then add accessories later if they matter to the final look.
Prepare the garment photo
The clothing image should be sharp, complete, and easy to separate from its background. Store product photos are useful. So are clean screenshots, hanger photos, and flat lays.
- Show the front of the item for the first preview.
- Keep both sleeves, the neckline, and the full hem visible.
- Crop away store menus, prices, and nearby products.
- Use a contrasting background when photographing your own clothes.
- Smooth folds that hide the garment shape.
- Save separate front and back references when both matter.
For a full outfit, a clean model photo can work when every piece is visible. If you want one item from that outfit, find its individual product image instead. The system should not have to guess which half of the model’s styling you meant.
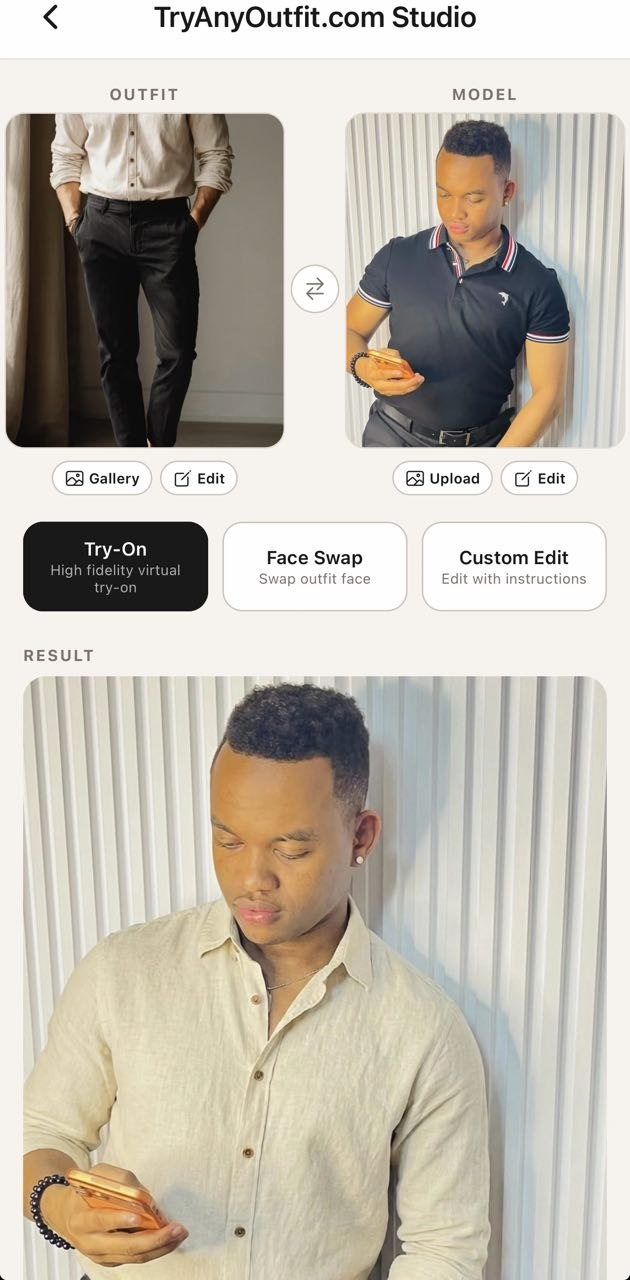
Match the framing to the item
An upper-body person photo paired with a full-length dress creates missing information below the frame. A full-body photo paired with a tiny, low-resolution top wastes detail where you need it. Match the view to the clothing.
For tops and jackets, head-to-hip framing is usually enough. For skirts, include the waist and legs. For trousers, include the natural waist to the shoes. For dresses and jumpsuits, use full-body framing.
Fix common result problems
Blurry or melted garment details
Use a larger product image and crop it closely. Tiny lace, text, and repeated patterns need more resolution than a solid sweater. If exact detail is essential, compare the result with the original listing before deciding.
Odd hands or sleeves
Use a source pose with hands away from the torso. Make sure the entire sleeve is visible in the garment reference. A long sleeve placed over an arm that disappears behind the body forces the image to solve several overlaps at once.
Changed face or hair
Return to the original source photo and use a sharper version. Keep the edit focused on clothing. Repeatedly editing an edited image increases the chance that identity details drift.
Wrong hem or length
Use a full-body source and a complete garment image. Remember that a preview does not measure your height against the real product. Verify the listed garment length before buying.
Create a reusable photo set
Take three source pictures in one session: a full-body front view, an upper-body view, and a relaxed seated view. Keep the light and background consistent. These three photos cover most outfit questions and make future comparisons much faster.
Store them in a clearly named album. You will use them more than the twelve screenshots called “final final use this” that normally handle important phone responsibilities.
The quick photo checklist
- Camera level at chest or waist height.
- Even light from the front.
- Body separated from the background.
- Relaxed pose with hands away from clothing details.
- Simple base outfit and minimal obstruction.
- Sharp, complete garment image.
- Framing matched to the item.
With that setup, you give the virtual clothes try-on enough information to produce a cleaner answer. Create your first preview, then use the step-by-step try-on guide to compare the result without mistaking it for a fit measurement.
What the input screen reveals
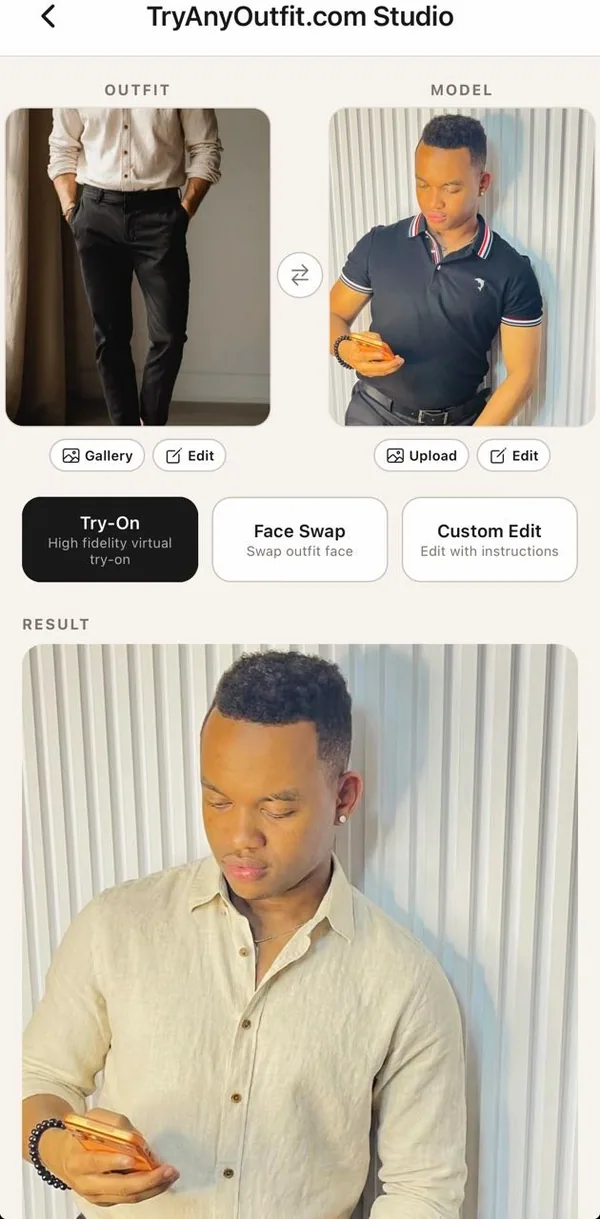
The current Studio screen keeps the outfit reference and person photo separate. That is why each image needs a single, readable job. The garment input should explain the clothing. The person input should explain pose, framing, and identity. If either image is ambiguous, the result has to guess.
This page stays focused on photography and input problems. When the images are ready, follow the exact virtual try-on workflow. For definitions and limitations, read the virtual try-on guide.