



Your cart has four items, one discount code, and a countdown clock behaving as if the navy trousers will disappear from civilization at midnight. This is a good time to stop and make the decision slower.
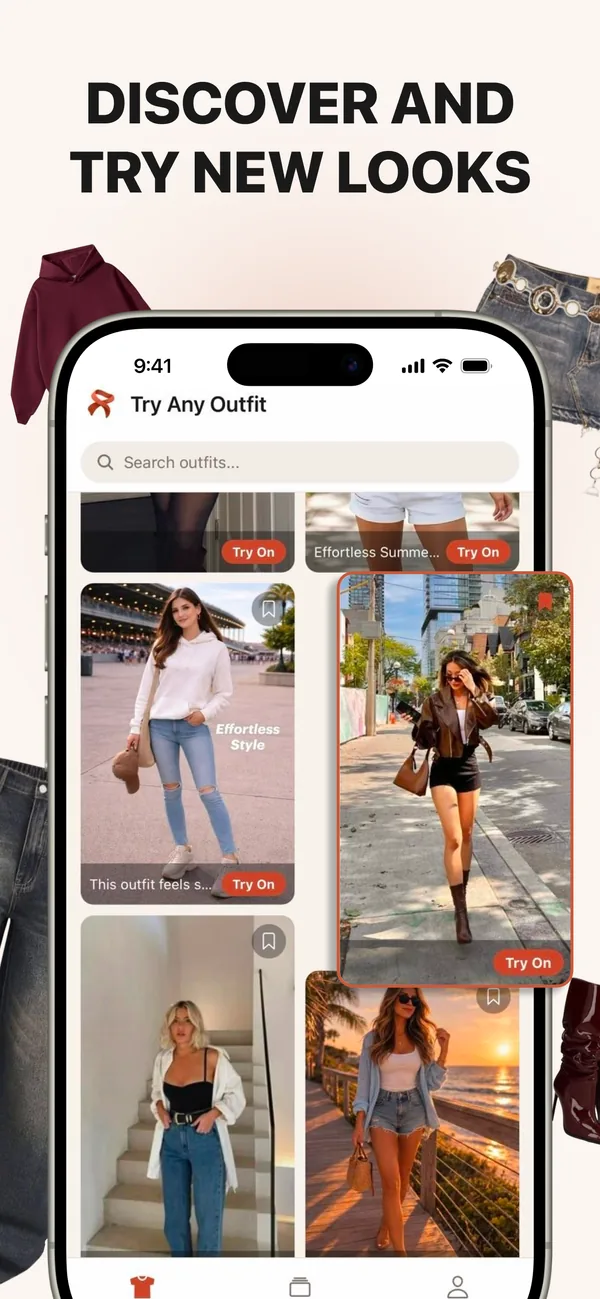
Virtual try-on clothes previews can show which options look promising on your own photo. Search phrases such as “virtual try on clothes” lead to the visual part of the decision. That part is excellent for narrowing a cart, but it is not a substitute for size, fabric, construction, shipping, or returns.
This checklist uses both sides. Preview the visual decision first, then verify the physical purchase before checkout.
1. Ask what job the item has
Every serious cart item should have a reason. Maybe you need trousers for work, a dress for an event, a jacket that works with three outfits, or a comfortable top for travel. “It is 30 percent off” is not a wardrobe job.
Name the occasion and the pieces you expect to wear with it. If you cannot picture two realistic outfits, the item may be interesting without being useful. That is allowed. It just should not automatically become a purchase.
2. Preview every serious option on the same photo
Choose a clear source image of yourself and keep it consistent. Test the two colors, three dresses, or competing jacket shapes on the same body position and in the same light.
Look first at color, silhouette, and overall style. Which option feels most like you? Which one works with the clothes you already own? Which one solves the original wardrobe gap?
Remove the obvious no. A virtual preview earns its keep when it gets a maybe out of your cart before your money and a delivery truck become involved.
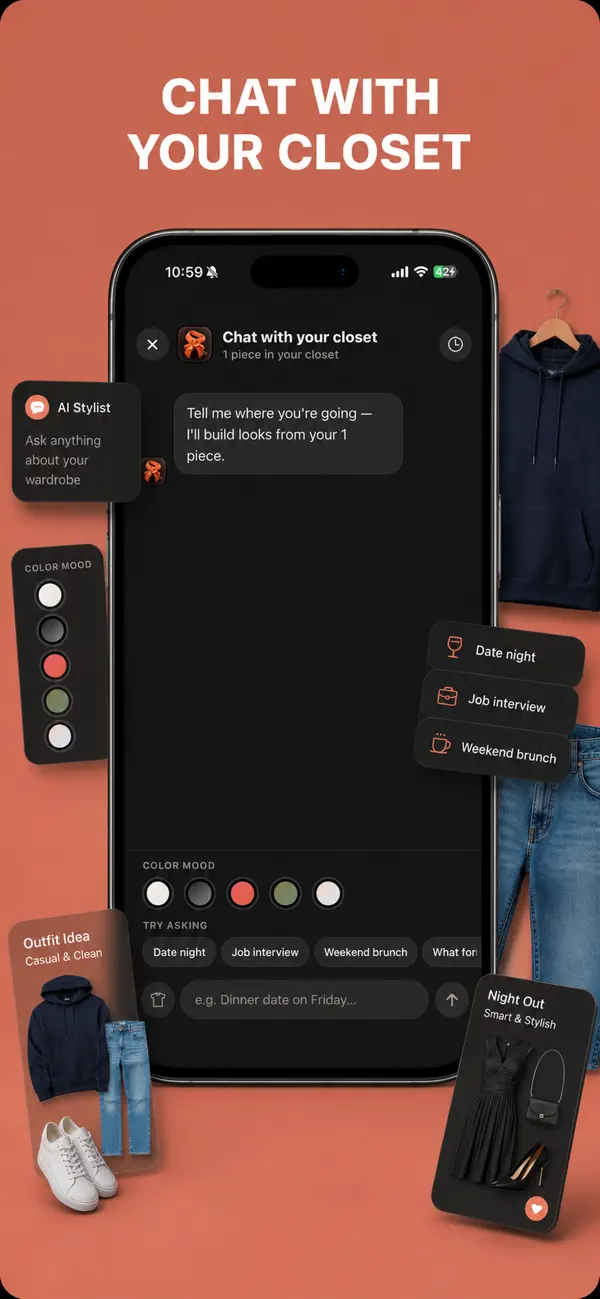
3. Check whether the preview preserved the garment
Compare the result with the product image. Check the neckline, sleeve shape, hem, print, closures, and key details. Generated images can simplify small patterns, lace, buttons, or layered construction.
If the feature that sells the item disappeared or changed, regenerate from a clearer product photo. If it still changes, use the preview only for broad color and silhouette. Do not let a modified detail make the decision for the real garment.
4. Open the size chart and find the correct one
Some retailers use a general chart across the site. Others provide measurements for the specific garment. The second is more useful. Look for chest, waist, hip, rise, inseam, shoulder, sleeve, and total length depending on the item.
Check whether the numbers are body measurements or garment measurements. They are not interchangeable. Garment dimensions include the room designed into the piece. Body measurements describe you.
If the product page suggests a size based on previous purchases, treat it as one clue. Brand sizing changes across cuts, fabrics, and collections.
5. Measure something you already love
Lay a similar item flat and compare it with the listing. Measure the places that affect how you wear it. For trousers, check waist, rise, hip, inseam, and leg opening. For jackets, check shoulder, chest, sleeve, and length.
This is usually more reliable than trying to decide whether you are “a medium” in the abstract. Your favorite jacket already contains your preference for ease, length, and movement.
Write the useful measurements in your phone. The note may not be glamorous, but neither is rediscovering your inseam during every shopping session.
6. Read what the fabric is made of
Material changes the way clothing hangs, stretches, wrinkles, breathes, and survives washing. A photo can show appearance. It cannot tell you that the sweater is itchy or the unlined dress becomes transparent in daylight.
Check the fiber composition and whether the product description mentions stretch, lining, weight, or texture. Look at the care instructions. If you will never hand wash or dry clean the item, include that fact before checkout rather than after the first mysterious laundry event.
7. Read reviews for specific evidence
Filter reviews for your usual size or relevant measurements when the store allows it. Look for repeated comments about tight shoulders, long straps, short rises, transparent fabric, weak zippers, or color differences.
Give more weight to details than ratings. “Love it” tells you the buyer is happy. “I am 5 feet 4 inches and the regular length touched the floor in two-inch heels” gives you information.
Customer photos help with color and fabric under ordinary light. Remember that fit varies. Use several reviews, not one person with a similar height and a completely different preference for how clothes should feel.
8. Check the outfit around the item
Preview the leading option with pieces you own. Test the blouse with your real trousers. Add the coat you will wear over the dress. Use shoes with a similar shape and height to your planned pair.
This catches closet orphans before purchase. An item that needs new underwear, new shoes, different outerwear, and a bag in a very specific brown is not one item. It is a project proposal.
9. Inspect price beyond the sale badge
Compare the sale price with the likely number of wears. Consider tailoring, special cleaning, shipping, and the supporting pieces you would need. A low price does not make a hard-to-wear item economical.
Search the retailer’s own site for similar items and colors. Sometimes the “limited” option has a nearly identical sibling with better reviews or a fabric you prefer.
If the cart only works because you added something unnecessary to reach free shipping, compare the extra item with the shipping cost. Paying $8 for delivery is cheaper than paying $32 for a top you did not want until a progress bar challenged you.
10. Read delivery and return terms
Check the estimated arrival date, especially for an event. Find out whether sale items are returnable, whether returns are free, and how many days you have. Some windows begin on the order date rather than delivery.
Look for restocking fees and whether marketplace sellers follow different rules. If you plan to order two sizes, confirm that returning one is practical and permitted.
11. Consider privacy before uploading photos
Use a service whose photo handling and privacy terms you are comfortable with. Choose source images that do not reveal documents, addresses, school names, or other private information in the background.
Crop the photo when a full room is unnecessary. Keep account security in mind, especially when you save a wardrobe of personal images. Convenience should not require ignoring what you upload.
12. Wait ten minutes and look at the shortlist again
Leave the cart. Look at the saved previews together after the immediate excitement fades. If one option is still clearly useful and passes the fit checks, buy it with more confidence. If none stands out, the correct checkout total may be zero.
This pause is especially helpful when urgency messaging is doing most of the selling. A garment that is right for you usually survives ten minutes without emotional support from a timer.
The final before-checkout checklist
- I know the job this item will do.
- I previewed it on the same photo as the alternatives.
- The preview preserved the details I care about.
- I checked the correct size or garment measurements.
- I compared it with a similar item I own.
- I read the fabric and care details.
- I found specific review evidence.
- It works with at least two existing pieces.
- The full cost still makes sense.
- The delivery and return terms are acceptable.
Virtual try-on clothes previews do the visual first pass. The checklist does the adult paperwork. Together, they make online shopping feel less like guessing and more like choosing.
Preview the items already in your cart. If your source is a retailer page, the store screenshot guide shows how to crop a cleaner clothing reference.
What product matching can and cannot do
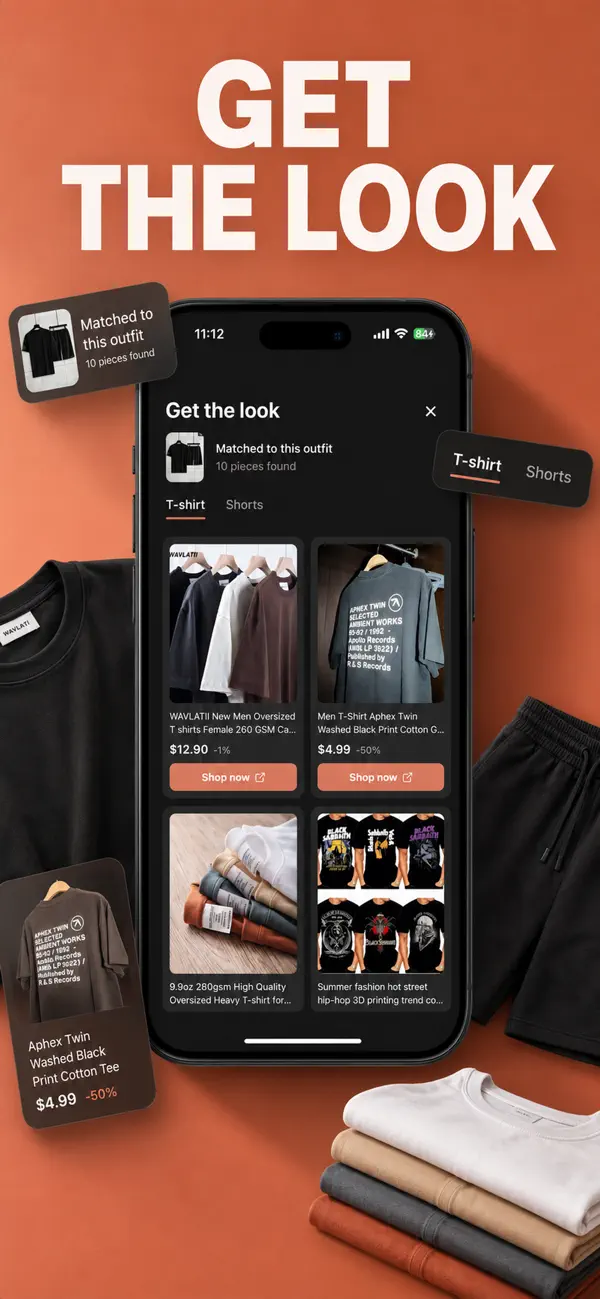
The current Get the Look screen pairs an outfit image with visually related products. That can shorten discovery, but visual similarity is only the first filter. Open the listing and verify the material, dimensions, color name, seller, delivery date, and return terms before treating a match as the same item.
For products saved as images, use the store screenshot guide. For a category overview, read the virtual try-on guide.