



You find the perfect coat at 12:14 a.m. The model looks excellent. The reviews are either “obsessed” or a detailed account of shipping. You still have no idea whether the coat looks like you.
This is where a store screenshot becomes useful. Save the item, crop away the shopping-page clutter, and preview the clothing on your own photo before the late-night sale timer starts making life decisions for you.
People often search “try on clothes virtual” when what they really want is simple: use this exact item from this exact store, without finding a special try-on button on the retailer’s site. A screenshot lets you bring the garment into the process yourself.
Take a screenshot that shows the garment clearly
Start on the product page and open the clearest front view. Make the clothing as large as possible before capturing it. Choose a photo where the garment is not covered by a bag, crossed arms, a coat, or dramatic editorial styling.
If the product page offers flat-lay or mannequin images, those are often easier to interpret. A model image is still usable when the item is fully visible. For trousers, include the waistband and hem. For a dress, include the neckline and full length. For a jacket, keep both sleeves in frame.
Do not worry about capturing the product name or price. You are making a clothing reference, not preserving evidence for a future court case.
Crop away everything that is not the item
Store screenshots collect noise: menus, color chips, discount banners, review stars, sticky checkout buttons, and sometimes three thumbnails of other products. Crop closely enough that the garment is the obvious subject, while leaving all of it visible.
- Remove the phone status bar and browser controls.
- Cut out neighboring product cards and thumbnails.
- Keep the full garment, including sleeves, hems, and straps.
- Use the highest-resolution view the store provides.
- Save a second screenshot if the back or side changes the design.
A clean crop helps the system separate the item from the page. It also makes your own comparison easier because you are looking at the product, not the red “only two left” message trying to raise your pulse.
Choose one source photo for every comparison
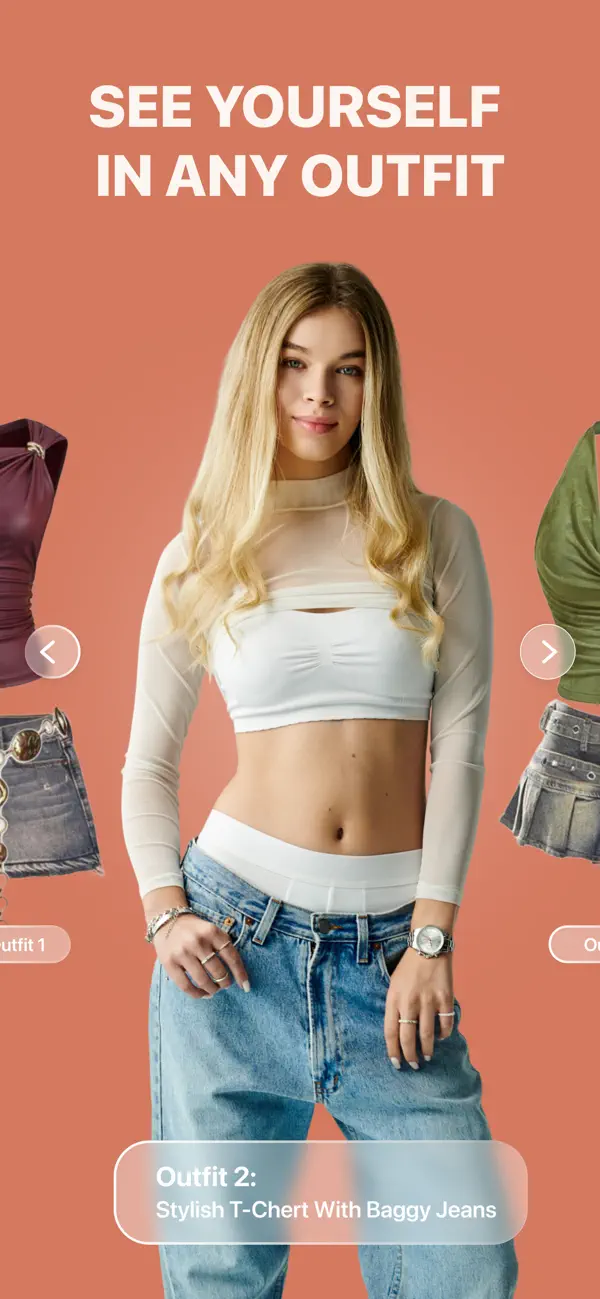
Use the same photo of yourself when testing several items. If you change your pose, angle, light, and background for every garment, you are comparing eight variables at once. That makes a prettier gallery and a worse decision.
A full-body photo is best for dresses, trousers, jumpsuits, and complete looks. An upper-body photo is enough for tops and many jackets. Face the camera or turn only slightly. Keep your arms relaxed so the torso and sleeves stay visible.
Wear a simple, relatively fitted base outfit. It gives a clearer body outline and reduces conflicts with bulky layers. You do not need to wear underwear or anything revealing. A tank and leggings, fitted tee and jeans, or a simple dress works.
Preview the exact item, then make a shortlist
Upload your photo and the cropped screenshot. Generate the result, then save it with enough context to remember what it was. A beautiful preview called “image_8472” becomes less useful after you test six black dresses that differ mainly in their commitment to shoulder coverage.
Limit the first round to three or four serious options. If an item clearly does not suit your taste, let it go. The purpose of virtual try-on is not to create a digital archive of every garment on the internet. It is to reduce uncertainty around the few you might buy.
Compare color and silhouette first
Look at the big decisions before zooming in. Does the color flatter your skin and hair? Does the overall shape feel balanced with your proportions? Does the item work with shoes, trousers, or outerwear you already own?
Silhouette is more useful than tiny construction details in a generated preview. A cropped jacket versus a long blazer creates a clear difference. The exact behavior of one lapel in motion is much harder to predict.
Ask three questions:
- Would I reach for this outfit in my real week?
- Can I name at least two things I already own that work with it?
- Does this solve the occasion or wardrobe gap that made me shop?
If the answer is no, a discount does not turn the item into a yes.
Check the screenshot against the result
Generated images sometimes simplify or reinterpret details. Compare the neckline, sleeve shape, hem, print scale, closures, and trim with the original screenshot. If the preview removes the feature you care about, regenerate with a clearer crop.
Pay attention to patterns and logos. Large color blocks usually transfer more reliably than tiny checks, lace, sequins, or repeated graphics. Use the preview to judge the overall look, and return to the retailer images for product-specific detail.
Keep the original product link beside the saved result. Screenshots lose stock status, fabric details, and color names as soon as they leave the store page. Naming the preview with the retailer and item name saves you from recognizing the winner later and having no idea where it came from.
Then do the checks a picture cannot do
A virtual preview does not know whether your chosen size fits. Open the retailer page again and check the size chart. Look for garment measurements, not only body-size ranges. Compare them with a similar item you own and like.
Read the material composition. A structured cotton shirt and a fluid viscose shirt can create similar front-view images while feeling completely different. Check whether the fabric stretches, whether the item is lined, and whether care instructions fit your actual patience level.
Customer photos are useful for seeing the item under ordinary light. Reviews become more valuable when shoppers mention their usual size, height, or the specific place the garment felt tight or loose. “Cute” is lovely support. “Waistband has no stretch” is decision-making information.
Use screenshots to build a complete outfit
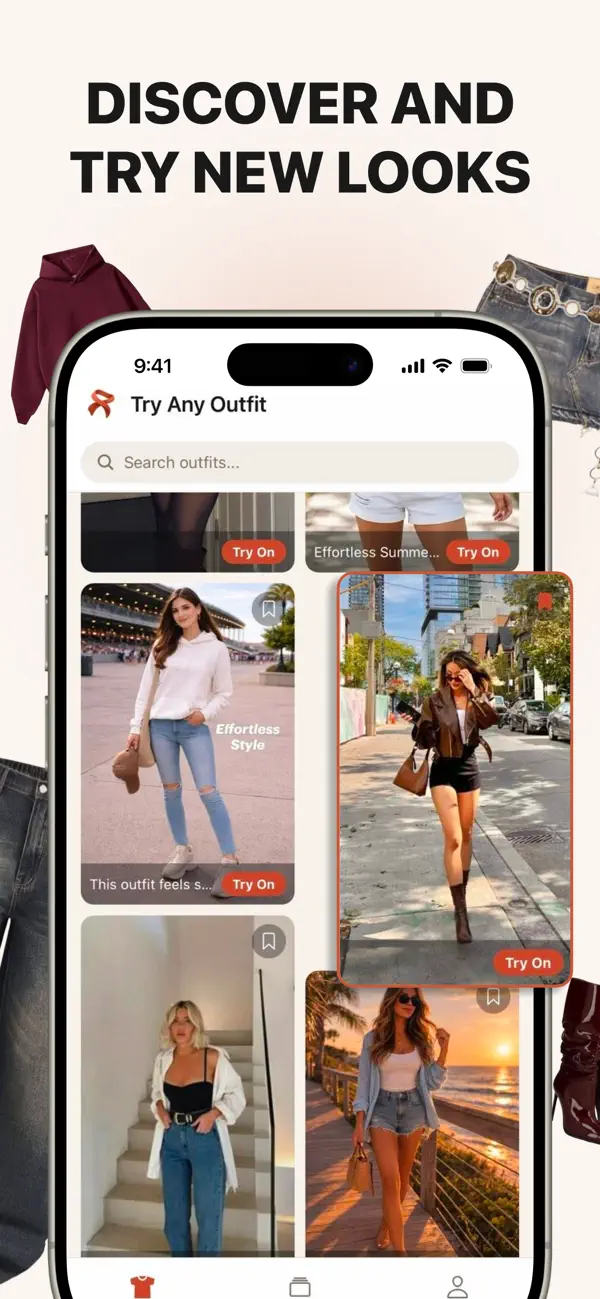
Once the main item survives the first round, test it with something you own. Use a photo where you are already wearing your favorite jeans, boots, or jacket, then add the store item. This reveals whether the new piece joins your wardrobe or demands a whole supporting cast.
For a full outfit, work in stages. Add the dress or main layer first. Save it. Then test a jacket or change one accessory. Keeping each step makes it easier to spot when the edit stops looking like the original product.
A screenshot workflow you can repeat
- Open the clearest front-facing product photo.
- Take a screenshot and crop out the store interface.
- Use one clear photo of yourself for the whole shortlist.
- Generate and save each preview with the store or item name.
- Compare color, silhouette, and wardrobe usefulness.
- Verify size, material, reviews, and return terms on the product page.
This takes a few minutes and creates a better question than “Do I like it on the model?” You get to ask whether it works for your style, your closet, and the life you actually dress for.
Try a store screenshot on your own photo, then use the before-checkout guide to finish the decision without confusing a good preview with a guaranteed fit.
What a store-screenshot workflow looks like
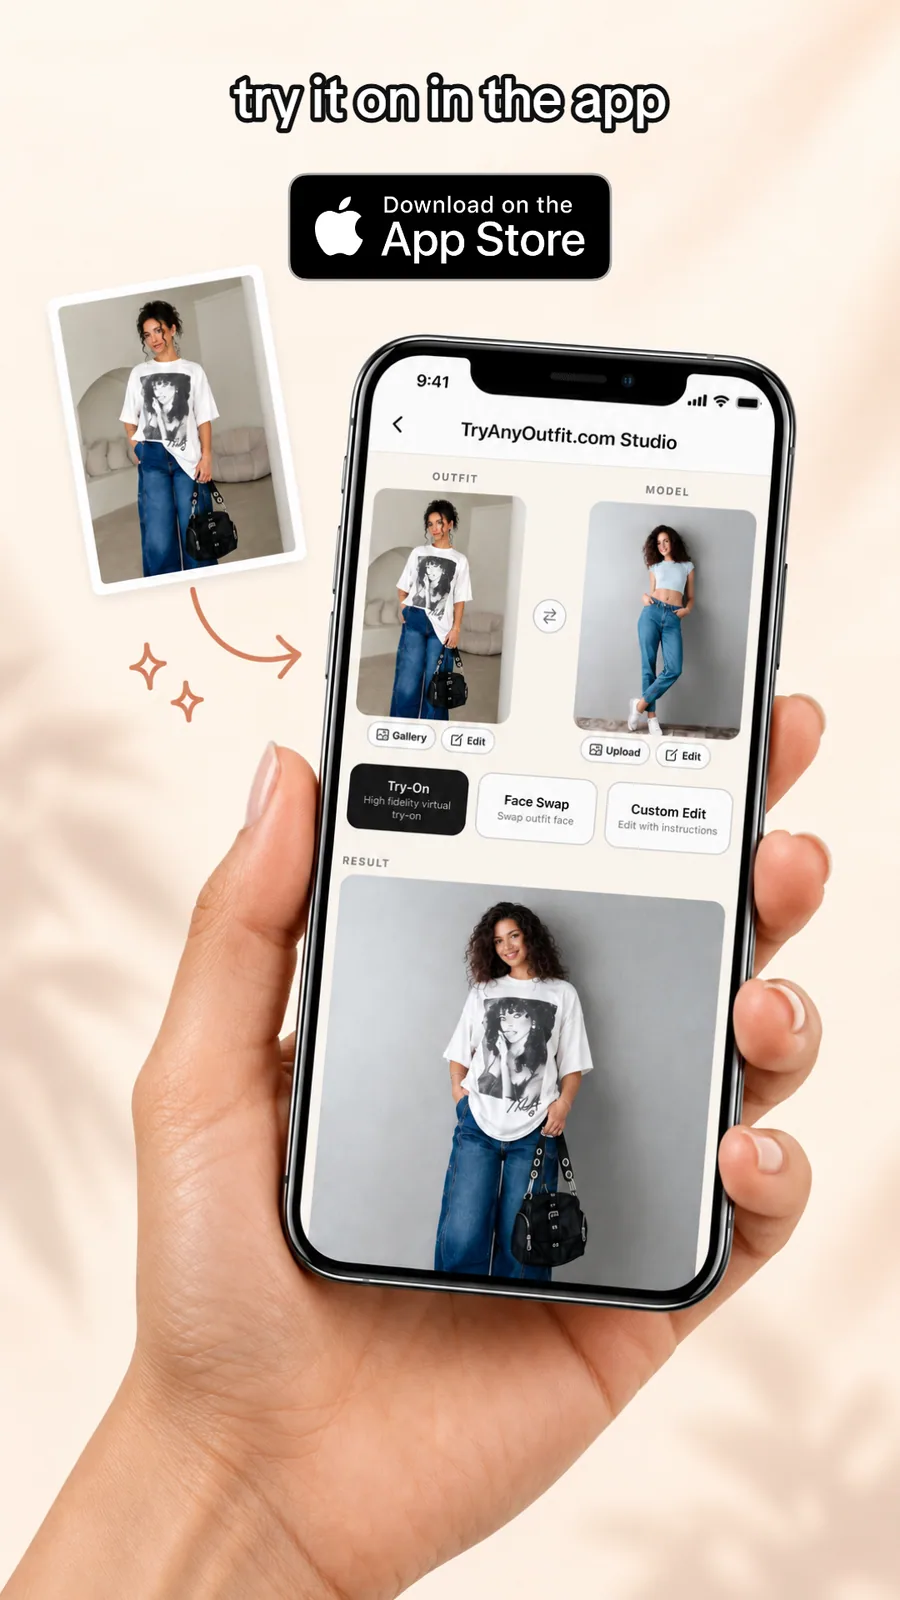
This current Studio view shows why the crop matters. The outfit reference and person photo occupy separate inputs, and the result appears below them. A clean crop gives the outfit slot one clear subject. The person image should do the same for the model slot.
If you want the full upload sequence, follow how to try on clothes virtually. If you are comparing products before payment, use the before-checkout guide.