



An invitation arrives. For five pleasant seconds, you are excited. Then you read “garden cocktail,” “creative formal,” or some other dress code apparently written by a committee that dislikes examples.
Event shopping creates two problems at once. You need an outfit that suits the setting, and you need to recognize yourself in it. Virtual clothes let you test the visual part before you order three dresses, two jackets, and a pair of shoes that only work while standing perfectly still.
The goal is not to generate the fanciest picture. It is to build a small, believable shortlist for the real event.
Translate the event before choosing clothes
Start with the invitation, venue, time, and weather. A daytime wedding in a garden asks different things from a winter ceremony in a hotel. A comedy date, work dinner, concert, conference, and beach vacation each have their own practical limits.
Look at the venue website and recent guest photos when they are available. Focus on the environment, not one unusually glamorous person. Notice whether people are indoors or outside, seated or moving, on grass or pavement, and dressed around the same level of formality.
Write down three requirements. For example:
- polished enough for dinner;
- comfortable while seated for two hours;
- works with a jacket because the venue is cold.
That list becomes your filter. A beautiful outfit that fails two requirements is not a contender. It is entertainment.
Build three outfit directions, not twenty
Create one safe option, one slightly bolder option, and one option built mostly from clothes you own. Three directions are enough to show you what you prefer without turning outfit planning into a second job.
For a wedding, that might be a printed midi dress, a solid satin dress, and a jumpsuit with a jacket. For a work event, try wide-leg trousers with a fitted knit, a simple dress, and a suit with a softer top. For a date, compare good jeans and a blazer, a skirt and knit, and a dress you can sit in without conducting negotiations with the hem.
Save product images or take clear photos of your own pieces. Keep the outfit directions different enough to teach you something.
Use one full-body photo for the whole shortlist
Choose a clear full-body image of yourself in a natural pose. Include your shoes if footwear changes the proportion of the outfit. Stand in even light with your arms relaxed and your body visible.
Use that same picture for every first-round preview. Consistency makes the comparison fair. If one outfit is tested in a bright, flattering vacation photo and another in a dark hallway mirror, you may accidentally choose the lighting.
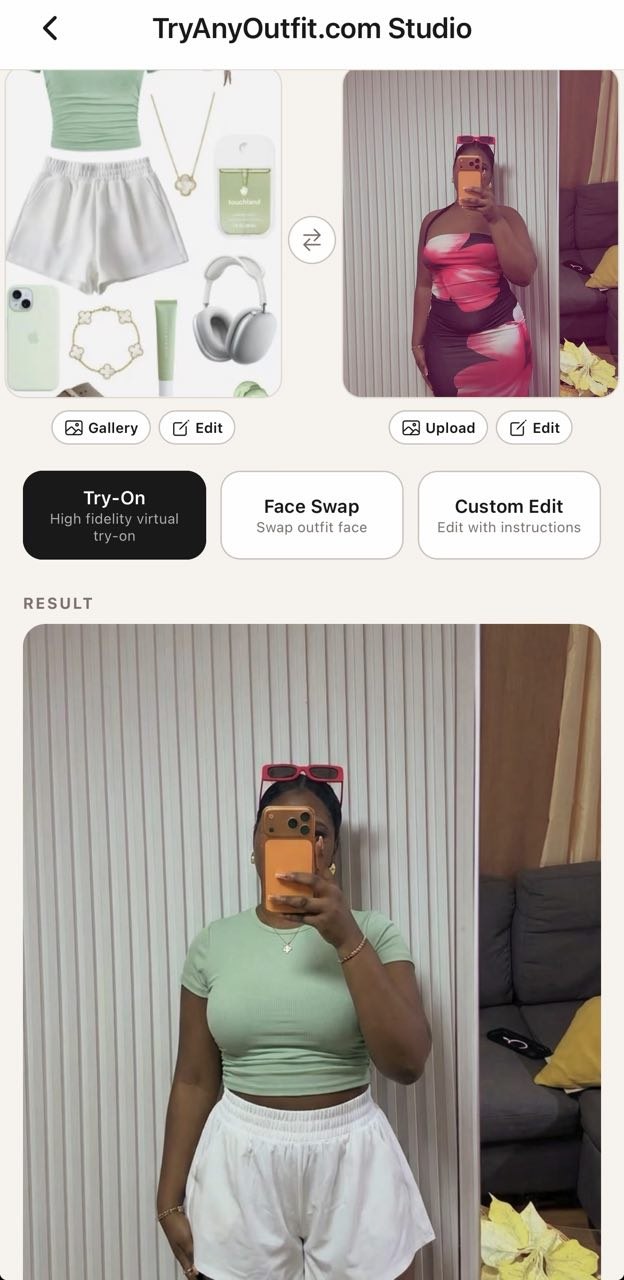
Preview the main garment first
Start with the dress, suit, jacket, or other piece that defines the look. Do not add every accessory in the first image. You want to know whether the main silhouette and color work before earrings and a tiny bag begin lobbying for it.
Compare how each option behaves visually:
- Where does the outfit create its strongest line?
- Does the color work near your face?
- Does the amount of fabric suit your height and frame?
- Will the neckline work with the bra or layer you plan to wear?
- Does the outfit feel appropriate without feeling like a costume?
Virtual previews are good at this level of decision. They show the overall look. They do not confirm whether a zipper, waistband, or shoe will feel comfortable.
Add the practical layer
Once the main piece works, add the layer the event may require. Test the blazer, cardigan, coat, or wrap. A dress can look perfect alone and become strangely formal with the only coat you own. Better to meet that problem on a screen than in the hallway ten minutes before leaving.
Use outerwear that can stay on if necessary. Event spaces are unpredictable, and “I’ll just remove it immediately” is a plan invented by people who have never sat beneath aggressive air conditioning.
For outdoor events, include realistic shoes. Grass, gravel, rain, stairs, and long walks from parking lots all count. A virtual outfit is still a real-world outfit waiting to happen.
Try the seated version
If the event involves dinner, a show, a ceremony, or a long car ride, make a second preview from a seated photo. The seated view reveals neckline gaps, jacket bunching, short hems, and trouser proportions that the standing photo politely hides.
You can also perform the physical chair test with a similar outfit you already own. Sit, reach forward, cross your legs, and lift your arms. The virtual image handles visual planning. Your body handles comfort testing.
Plan for photos without dressing only for photos
Events produce pictures, but you still have to live inside the outfit. Check how the color reads in the likely setting. Very pale colors can blend into bright outdoor backgrounds. Tiny high-contrast patterns may look busy. Solid colors and medium-scale prints are often easier on a phone camera.
Do not choose an outfit only because one generated image looks dramatic. Ask whether you would feel comfortable walking into the room in it. The best event outfit lets you stop thinking about the outfit once the event begins.
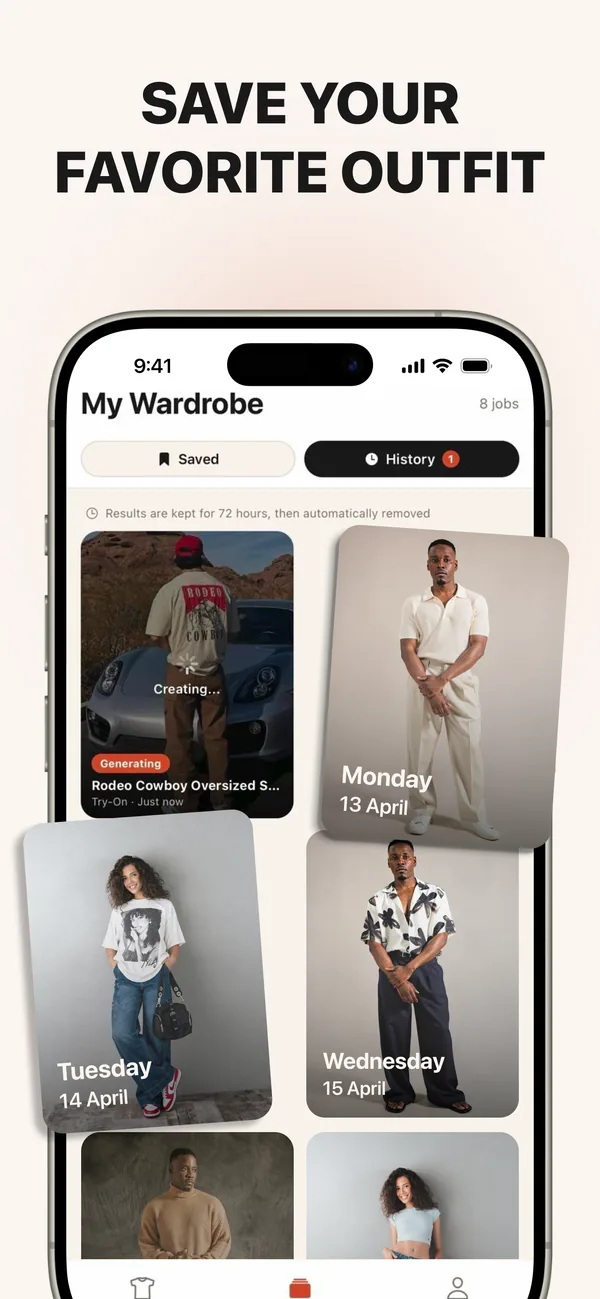
Check the dress code without becoming identical to everyone
A dress code sets a range, not a uniform. Stay within the expected formality, then choose the color, shape, and styling that feel familiar to you. If you never wear ruffles, an invitation does not create a new constitutional requirement.
For weddings, avoid anything the couple has asked guests not to wear. If the dress code is unclear, a polished midi dress, jumpsuit, or tailored separates are easier to adjust with shoes and outerwear than a very casual or very formal extreme.
For work events, keep the parts that already make you feel competent. A favorite trouser shape or reliable jacket can anchor a more interesting top or color. For dates and shows, prioritize the actual plan. Dinner plus walking calls for different shoes than drinks in one place.
Finish the decision with non-visual facts
Once you have a favorite preview, check the garment measurements and material. Read reviews for comments about stretch, transparency, length, and sizing. Find out whether the item arrives in time and whether the return window extends beyond the event.
If you are between sizes, the generated picture cannot solve it. Compare a garment you own with the listing dimensions. For shoes, consider the walking surface and how long you will be on your feet. For outerwear, make sure it fits over the main outfit, not only over a T-shirt.
If two options still feel equal, choose the one that demands fewer adjustments during the event. A look you can forget about after leaving home will usually beat the one that needs constant strap checks, steaming, or shoe negotiations.
A seven-step event outfit plan
- Translate the venue, time, weather, and dress code into three requirements.
- Choose three distinct outfit directions.
- Preview the main pieces on the same full-body photo.
- Remove any option that does not feel like you.
- Add realistic shoes and an outer layer.
- Check a seated view when the event involves sitting.
- Verify measurements, materials, delivery, and returns.
Now you have a decision, not a folder of possibilities. You can try on virtual clothes for your event, save the strongest looks, and let the invitation return to being good news.
What the inspiration screen is good for
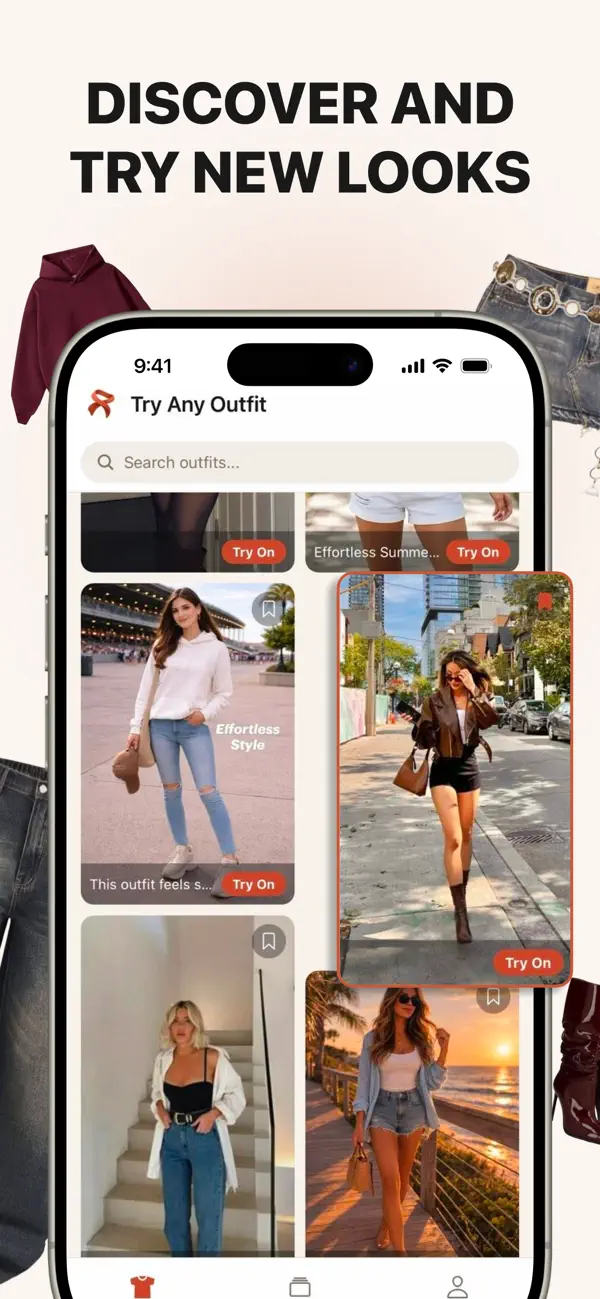
The current inspiration screen presents complete looks with a Try On control. It is useful for finding a direction before searching for individual products. The screen cannot know the venue rules, forecast, walking distance, or how long you will be seated, so those practical checks still belong to you.
For a general explanation of the technology, read the virtual try-on guide. For a purchase checklist after choosing a look, use the before-checkout guide.